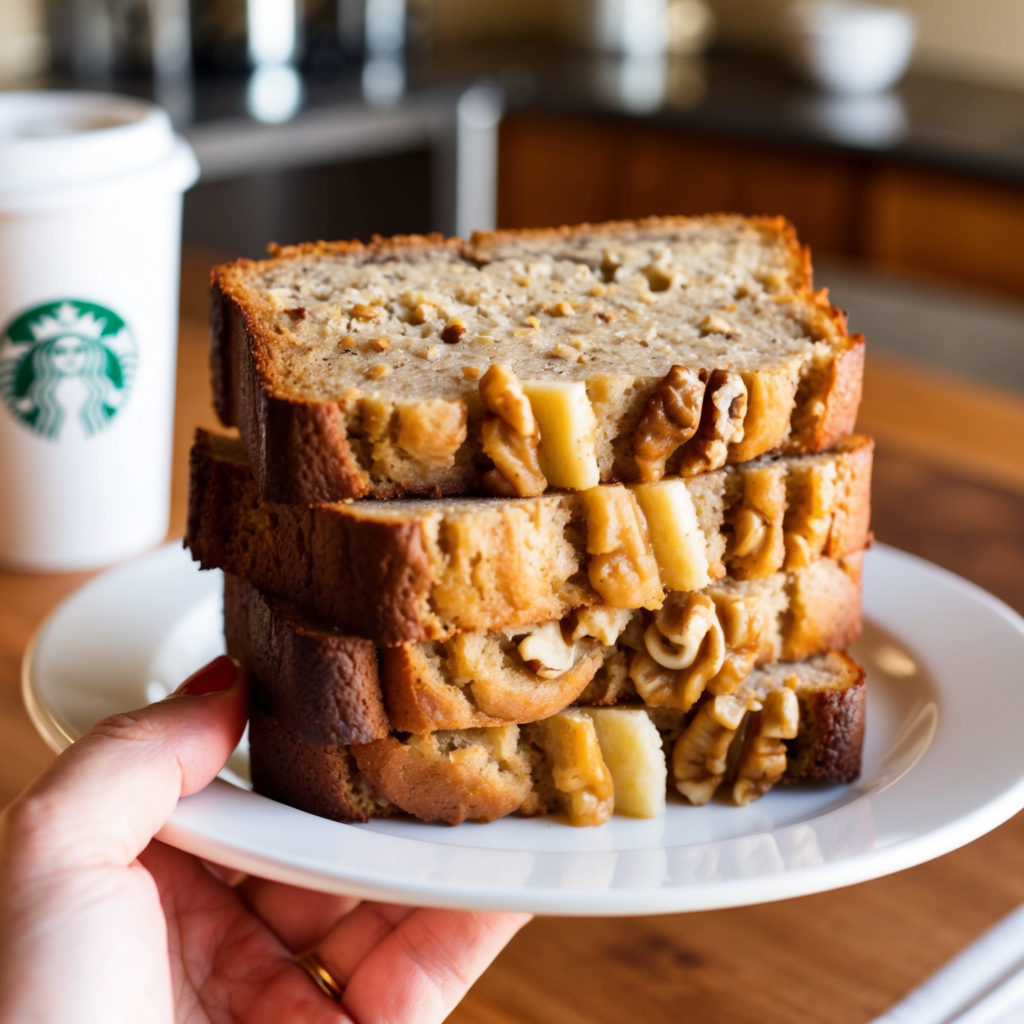
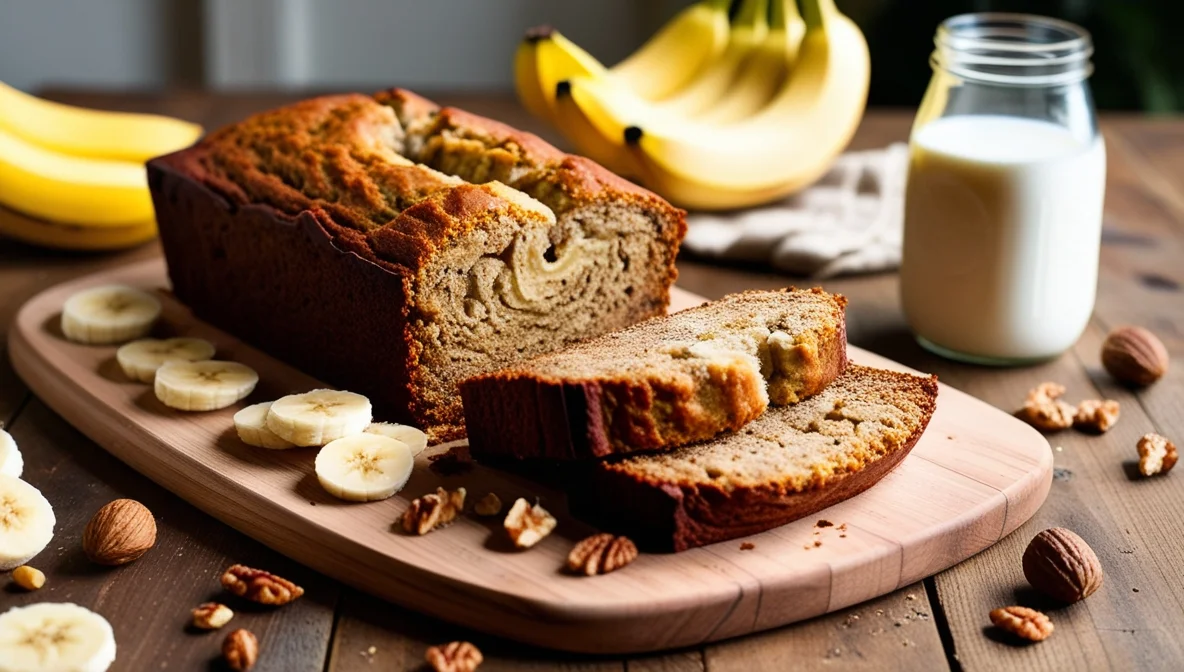
Starbucks Banana Nut Bread Recipe : There’s something truly special about the aroma of freshly baked banana nut bread. It evokes warmth, comfort, and nostalgia, making it one of those timeless treats that never goes out of style. Whether you’re a loyal Starbucks fan or simply someone who enjoys a slice of banana nut bread with your coffee, imagine being able to recreate this delicious delight right at home.
This guide will walk you through everything you need to know to bake Starbucks-style banana nut bread from scratch. You’ll be a pro at making this irresistible snack by the end. Plus, with a few helpful tips and tricks, you’ll see that it’s a breeze to make and easily customizable. Ready to impress your family or guests? Let’s get started.
Table of Contents
Why You’ll Love This Starbucks Banana Nut Bread Recipe
Starbuck’s banana nut bread recipe is cherished by many for good reason. Its moist texture, rich banana flavour, and crunchy walnut topping make it a perfect pairing for a morning coffee or an afternoon treat. This homemade version stays true to the original but has the added satisfaction of making it yourself. Plus, it’s an incredibly versatile recipe.

Here’s why this recipe is so popular:
- Rich banana flavor: The riper the bananas, the better the flavor, offering natural sweetness.
- Moist and soft texture: Each bite is soft and tender, thanks to the combination of oil and mashed bananas.
- Crunchy walnuts: Adding walnuts gives a delightful crunch, balancing the moistness.
- Simple ingredients: You probably already have most ingredients in your pantry.
- Perfect for any occasion: Enjoy it for breakfast, as a snack, or even as a dessert.
Now that you know why this recipe stands out, let’s dive into the ingredients that make this banana nut bread a must-bake.
Ingredients You’ll Need
Making the perfect Starbucks banana nut bread recipe starts with using the right ingredients. Here’s a detailed breakdown of what you’ll need, with some possible substitutions for those looking to tweak the recipe to their liking.
Making the perfect Starbucks banana nut bread starts with using the right ingredients. Here’s a detailed breakdown of what you’ll need, with some possible substitutions for those looking to tweak the recipe to their liking.
| Ingredient | Quantity | Notes |
|---|---|---|
| Ripe Bananas | 3 medium | Overripe bananas are perfect for added sweetness. |
| All-Purpose Flour | 2 cups | Make sure to sift the flour for a light, airy texture. |
| Sugar | 1 cup | You can use white sugar or substitute with brown sugar. |
| Eggs | 2 large | Eggs provide structure and moisture to the bread. |
| Walnuts | ½ cup | Chopped for that signature crunch. |
| Baking Soda | 1 teaspoon | Helps the bread rise and gives it a light texture. |
| Salt | ½ teaspoon | Balances out the sweetness from the bananas. |
| Vegetable Oil | ½ cup | Ensures a moist and tender loaf. |
| Vanilla Extract | 1 teaspoon | Adds depth of flavor that elevates the overall taste. |
Pro tip: The key to achieving that moist texture is using very ripe bananas. The riper they are, the sweeter and more flavorful the bread will turn out.
Step-by-Step Instructions to Make Starbucks Banana Nut Bread recipe
Now that you’ve gathered your ingredients let’s get baking. Here’s a detailed, step-by-step guide that ensures your Starbucks banana nut bread turns out perfectly every time.
1. Preheat the Oven
Before doing anything else, preheat your oven to 325°F (163°C). Preheating ensures your bread bakes evenly and gets that nice, golden-brown crust.
2. Mash the Bananas
Mash the ripe bananas in a large mixing bowl until they’re smooth and free of lumps. You can use a fork or potato masher for this step. The more mashed the bananas, the better the texture of the bread.
3. Mix the Wet Ingredients
Once your bananas are ready, add the eggs, sugar, vanilla extract, and vegetable oil. Whisk everything together until thoroughly combined. This wet mixture is the base of your bread and will give it that moist, flavorful crumb.
4. Combine the Dry Ingredients
Whisk the flour, baking soda, and salt together in a separate bowl. This helps distribute the leavening agents evenly throughout the batter.
5. Mix Everything Together
Slowly add the dry ingredients to the wet ingredients. Fold the mixture gently using a spatula until just combined. Overmixing can lead to dense banana bread, so be careful to mix until the ingredients are incorporated.
6. Add the Walnuts
Once the batter is smooth, fold in the chopped walnuts. The walnuts add a delightful crunch and extra flavour but feel free to leave them out if you prefer a nut-free version.
7. Bake the Bread
Grease a loaf pan or line it with parchment paper. Pour the batter into the pan and smooth the top with a spatula. Place the pan in your oven and bake for 60-70 minutes. To test if it’s done, insert a toothpick into the centre of the loaf—if it comes out clean, your bread is ready.
8. Cool and Serve
Once baked, allow the bread to cool in the pan for about 10 minutes, then transfer it to a wire rack to cool completely. This step is essential for ensuring the bread sets and slices nicely.
Expert Tips for Perfect Banana Nut Bread
If you want to take your banana bread to the next level, these tips will help you get there.
- Use Overripe Bananas: The riper the bananas, the better. Brown, spotty bananas will give your bread the perfect sweetness and moisture.
- Avoid Overmixing: Once you combine the wet and dry ingredients, mix just enough to combine. Overmixing can result in a dense loaf.
- Add Toppings: For an extra treat, sprinkle some sugar on the batter before baking. This will give you a caramelized, crispy crust.
- Parchment Paper Hack: Line your loaf pan with parchment paper to make removing the bread easier. This will also prevent sticking.
Variations and Substitutions
While the classic Starbucks banana nut bread recipe is perfect, there are plenty of ways to customize it to suit your preferences.
- Chocolate Chip Banana Bread: Add ½ cup of chocolate chips to the batter for a chocolatey twist.
- Pecan Banana Bread: Swap the walnuts for pecans to give the bread a different flavour.
- Healthy Banana Bread: Use whole wheat flour instead of all-purpose, and substitute the sugar with honey or maple syrup for a healthier alternative.
- Gluten-Free Option: Use a gluten-free flour blend instead of regular flour for those with gluten sensitivities.
These variations allow you to put your spin on the classic recipe while still enjoying that familiar Starbucks taste.
Storing and Freezing Banana Nut Bread
Follow these simple storage tips to ensure your banana nut bread stays fresh and delicious.
- At Room Temperature: Store your banana nut bread in an airtight container at room temperature for up to 3 days. This prevents it from drying out.
- Refrigeration: For more extended storage, refrigerate the bread. It can last up to a week when kept chilled.
- Freezing: Want to save some for later? Banana nut bread freezes well. Wrap individual slices in plastic wrap and aluminium foil, or store the entire loaf in a freezer-safe bag. The bread can be frozen for up to 3 months.
When you’re ready to enjoy a slice, thaw it at room temperature or warm it in the microwave for a few seconds.
Frequently Asked Questions (FAQs)
Can I Make Starbucks Banana Nut Bread recipe Without Nuts?
Absolutely! You can simply omit the walnuts for a nut-free version. If you want to add a different flavour, you can replace them with chocolate chips, dried cranberries, or raisins.
What’s the Secret to Moist Banana Bread?
The secret to moist banana bread is using ripe bananas and not overmixing the batter. Adding vegetable oil also helps keep the bread moist and tender.
Can I Make This Banana Nut Bread Gluten-Free?
Yes, just substitute the all-purpose flour with a gluten-free blend, and you’ll have a delicious gluten-free version of this recipe.
How Long Does Banana Nut Bread Last?
At room temperature, banana nut bread lasts up to 3 days. If refrigerated, it can last up to a week. When frozen, it stays suitable for up to 3 months.
Conclusion
Now that you’ve mastered the Starbucks banana nut bread recipe, there’s no need to head to your local coffee shop every time you crave this delicious treat. You can quickly whip it up at home with ingredients you likely already have in your pantry.Plus, with so many variations and customizations available, you can enjoy a new twist on the classic recipe every time you bake it.
Ready to give this recipe a try? Gather your ingredients, preheat your oven, and get baking. Don’t forget to share your creation with family and friends—it’s sure to be a hit!
For more copycat recipes? Subscribe to our newsletter for more delicious, easy-to-make Starbucks-inspired treats right at home.


