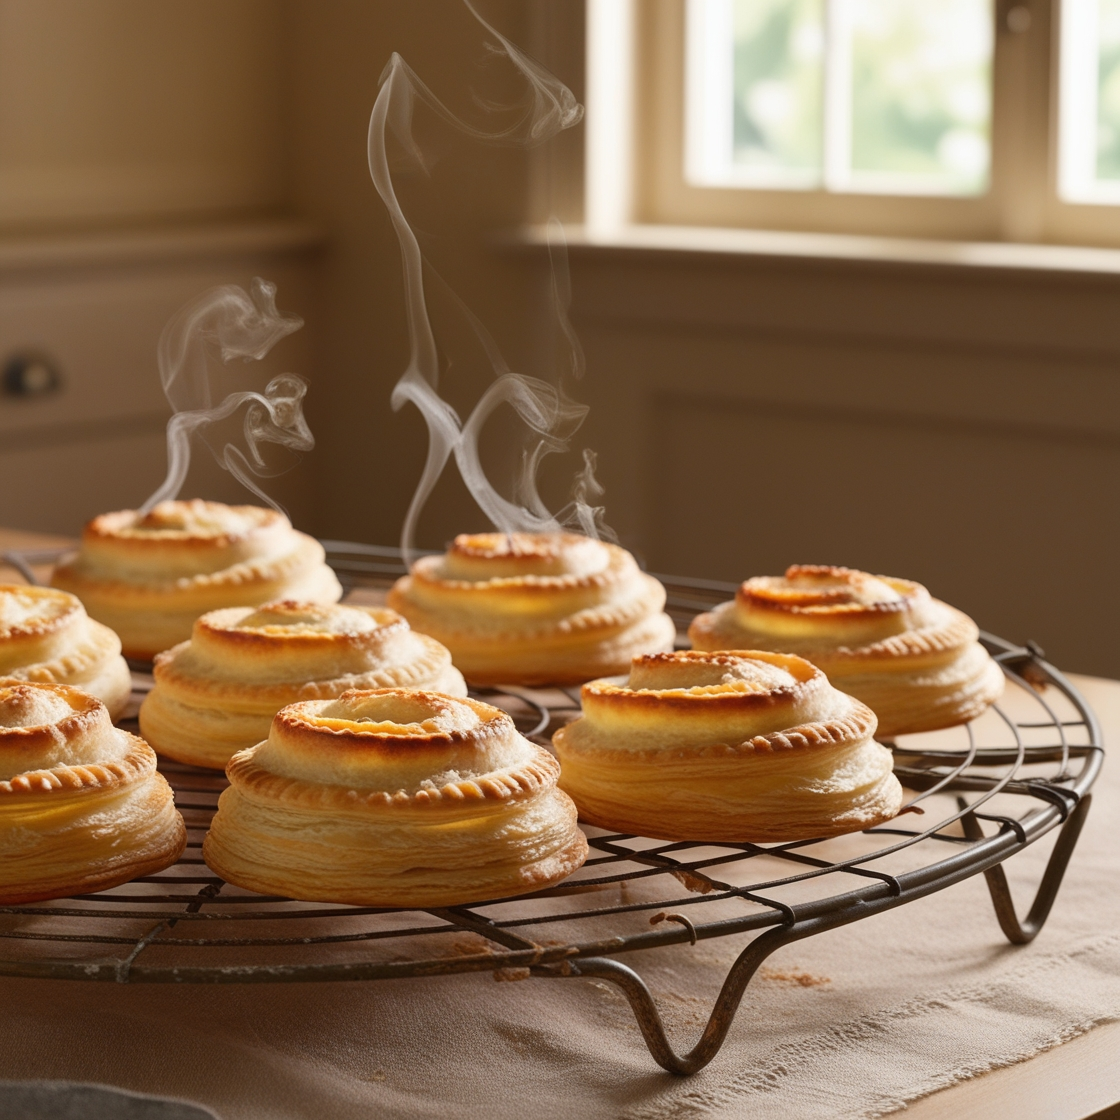
The crisp, buttery layers should melt in your mouth when you bite into a pastry. But what makes a pastry truly flaky? The secret lies in science—from how you handle the Dough to the type of ingredients you choose. Understanding the principles behind creating the perfect flaky pastry can turn your baking from good to exceptional. In this comprehensive guide, you’ll discover what makes a pastry flaky and how to master this skill in your kitchen.
Table of Contents
1. The Role of Fat: Choosing the Right Kind
The type of fat you use is one of the most crucial decisions when making flaky pastry. Different fats yield different results:
- Butter: Offers unmatched flavour and creates delicate, flaky layers.
- Shortening: Provides excellent flakiness but lacks the rich taste of butter.
- Lard: Combines the best of both worlds with superior flakiness and flavour, but it’s less commonly used.
Using cold fat is essential. The fat should stay in small, solid pieces throughout the Dough. When baked, the moisture in the fat evaporates, creating steam that lifts and separates the dough layers, resulting in that classic flakiness.
2. The Science of Temperature: Why Cold Matters
One of the biggest challenges in pastry-making is temperature control. Keeping the Dough cold ensures that the fat doesn’t melt before baking:
- Cold Ingredients: Always use cold butter, chilled flour, and ice-cold water.
- Chilled Workspace: Work on an excellent surface like marble and keep your kitchen temperature low.
If the fat melts prematurely, it gets absorbed into the flour, leading to dense and greasy pastry instead of light and airy layers.
3. The Art of Mixing: Gentle Hands Win
Mixing the Dough is an art form that requires a gentle touch. Overworking the Dough can develop gluten, making the pastry tough instead of tender. Follow these steps:
- Combine the Dry Ingredients: Mix the flour and salt first to ensure even distribution.
- Cut in the Fat: Blend the fat into the flour using a pastry blender or your fingertips until it resembles coarse crumbs.
- Add Liquid Sparingly: Add ice-cold water and mix until the Dough comes together.
Avoid kneading or excessive stirring. The goal is to keep the fat pieces intact and distributed evenly.
4. The Magic of Laminating Dough
Laminated doughs like puff pastry and croissants are known for their intricate, flaky layers and flaky pastry . The process involves folding and rolling out the Dough multiple times to create alternating layers of fat and Dough:
- Rolling Out: Start by rolling the Dough into a rectangle.
- Folding: Fold it in thirds like a letter.
- Chilling: Rest the Dough in the refrigerator between folds to keep it cold.
This repetitive process traps air and forms the structured layers that puff up when baked. Patience is critical here; rushing can result in uneven layers and compromised texture.
5. Choosing the Right Flour: All-Purpose vs. Pastry Flour
Flour type affects the texture of your pastry. Here’s what you should know:
- Pastry Flour: Lower protein, resulting in a tender, delicate crust.
- All-Purpose Flour: Slightly higher in protein, providing a bit more structure but still suitable for most pastry recipes.
Too much high-protein flour, like bread flour, will develop excess gluten, making the pastry tough. Balancing protein content helps achieve that perfect balance between strength and tenderness.
6. The Importance of Resting the Dough
After mixing, resting the Dough is vital for two main reasons:
- Relaxing the Gluten: Prevents the Dough from shrinking during baking.
- Hydration: The flour can absorb the water thoroughly, creating a cohesive dough.
Wrap your Dough in plastic wrap and let it chill for at least 30 minutes before rolling out. This step makes the Dough easier to handle and ensures even baking.
7. Rolling Out Like a Pro: Techniques for Even Layers
When rolling out pastry dough, use these tips for consistent layers:
- Use Minimal Flour: Too much flour can dry out the Dough.
- Rotate Often: Turn the Dough 90 degrees as you roll to maintain an even thickness.
- Work Quickly: Prevent the Dough from warming up by moving with purpose.
If the Dough sticks, lightly flour the surface or chill it for a few minutes.
8. Baking Time and Temperature: Getting It Just Right
Your oven plays a massive role in determining how flaky your pastry turns out. Here’s how to maximize your results:
- Preheat Properly: Ensure the oven is fully preheated before placing your pastry inside.
- High Initial Temperature: Start with a higher temperature (around 425°F or 220°C) for the first few minutes to help the pastry rise quickly, then lower it to cook evenly.
It is essential to monitor your pastry as it bakes. Watch for that golden-brown colour, which indicates that the layers have separated and cooked correctly.
9. Common Mistakes to Avoid
Even experienced bakers can make mistakes. Watch out for these common pitfalls:
- Overmixing the Dough Leads to tough, chewy pastry.
- Using Warm Fat: Causes the fat to melt too soon, ruining the flakiness.
- Skipping the Resting Time: Results in uneven texture and Dough that shrinks.
Your Baking Journey Begins
You now know the secrets behind creating the perfect flaky pastry. The next step? It’s time to put this knowledge to use in your kitchen. Start with a simple pastry recipe and practice these techniques. As you become more comfortable, experiment with different fillings and types of pastry. Your taste buds—and anyone lucky enough to share your baking—will thank you.
Happy baking, and may your pastry always be perfectly flaky pastry ! Try our recipes and Enjoy !

